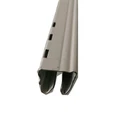

Installing a guardrail column on a metal structure is a crucial process that requires careful planning, the right tools, and a good understanding of the materials involved. As a guardrail column supplier, I've seen firsthand the importance of a proper installation to ensure safety and durability. In this blog post, I'll guide you through the step-by-step process of installing a guardrail column on a metal structure, sharing tips and insights along the way.
Step 1: Planning and Preparation
Before you start the installation process, it's essential to plan and prepare properly. This involves assessing the site, determining the number and placement of guardrail columns, and gathering the necessary tools and materials.
- Site Assessment: Begin by visiting the site where the guardrail will be installed. Take note of the dimensions, layout, and any potential obstacles or challenges. Consider factors such as the slope of the ground, the presence of other structures, and the intended use of the guardrail.
- Column Placement: Based on your site assessment, determine the number and placement of guardrail columns. The spacing between columns will depend on the type of guardrail system you're using and the specific requirements of your project. As a general rule, columns should be placed at regular intervals to provide adequate support and stability.
- Tool and Material Gathering: Once you've determined the number and placement of columns, gather the necessary tools and materials. This may include a drill, a level, a tape measure, a wrench, bolts, nuts, washers, and of course, the guardrail columns themselves. Make sure you have all the tools and materials you need before you start the installation process to avoid any delays.
Step 2: Marking the Column Locations
Once you've completed the planning and preparation phase, it's time to mark the locations where the guardrail columns will be installed. This is an important step as it ensures that the columns are placed in the correct position and at the right height.
- Use a Tape Measure: Use a tape measure to measure and mark the locations where the columns will be installed. Make sure to measure accurately and mark the locations clearly using a pencil or chalk.
- Check for Levelness: Use a level to ensure that the marks are level and straight. This will help to ensure that the guardrail is installed correctly and looks professional.
- Consider the Spacing: Make sure to consider the spacing between the columns when marking the locations. As mentioned earlier, the spacing will depend on the type of guardrail system you're using and the specific requirements of your project.
Step 3: Drilling the Holes
After marking the column locations, the next step is to drill the holes for the bolts that will secure the columns to the metal structure. This is a critical step as it ensures that the columns are securely attached and can withstand the forces exerted on them.
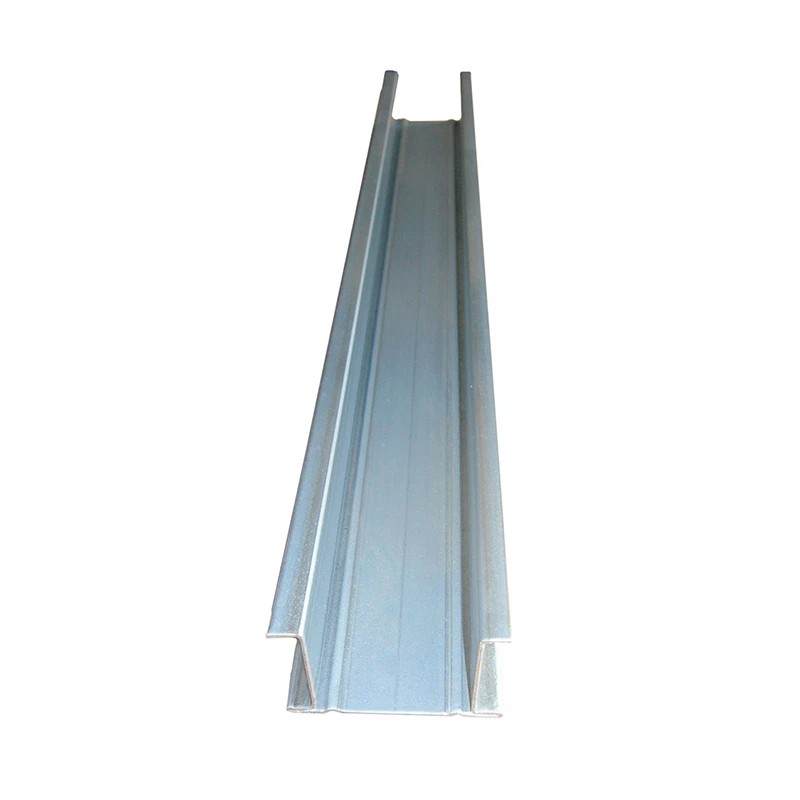

- Choose the Right Drill Bit: Choose a drill bit that is the appropriate size for the bolts you'll be using. Make sure the drill bit is sharp and in good condition to ensure a clean and accurate hole.
- Drill the Holes: Use a drill to drill the holes at the marked locations. Make sure to drill straight and perpendicular to the surface of the metal structure. If necessary, use a drill guide to help you drill the holes accurately.
- Clean the Holes: After drilling the holes, use a brush or compressed air to clean out any debris or metal shavings. This will help to ensure that the bolts fit properly and that the columns are securely attached.
Step 4: Installing the Columns
Once the holes have been drilled, it's time to install the guardrail columns. This involves inserting the columns into the holes and securing them with bolts and nuts.
- Insert the Columns: Carefully insert the columns into the holes in the metal structure. Make sure the columns are straight and level before tightening the bolts.
- Tighten the Bolts: Use a wrench to tighten the bolts and nuts, securing the columns to the metal structure. Make sure the bolts are tightened evenly to ensure that the columns are securely attached.
- Check for Levelness: Use a level to check that the columns are level and straight. If necessary, adjust the columns by loosening the bolts and repositioning them.
Step 5: Attaching the Guardrail
After the columns have been installed, the next step is to attach the guardrail to the columns. This involves using brackets or connectors to secure the guardrail to the columns.
- Choose the Right Brackets or Connectors: Choose brackets or connectors that are compatible with the type of guardrail system you're using. Make sure the brackets or connectors are strong and durable enough to support the weight of the guardrail.
- Attach the Brackets or Connectors: Use a drill and bolts to attach the brackets or connectors to the columns. Make sure the brackets or connectors are securely attached and that they are level and straight.
- Attach the Guardrail: Once the brackets or connectors are attached, carefully attach the guardrail to the brackets or connectors. Make sure the guardrail is level and straight and that it is securely attached to the columns.
Step 6: Testing and Inspection
After the guardrail has been installed, it's important to test and inspect it to ensure that it is safe and secure. This involves checking the columns, brackets, connectors, and guardrail for any signs of damage or weakness.
- Check the Columns: Check the columns for any signs of damage or weakness, such as cracks, bends, or corrosion. If any damage is found, replace the damaged column immediately.
- Check the Brackets and Connectors: Check the brackets and connectors for any signs of damage or weakness, such as loose bolts or nuts. If any damage is found, tighten the bolts or nuts or replace the damaged bracket or connector.
- Check the Guardrail: Check the guardrail for any signs of damage or weakness, such as loose or missing sections. If any damage is found, repair or replace the damaged section immediately.
Step 7: Maintenance and Upkeep
Once the guardrail has been installed and tested, it's important to maintain and upkeep it to ensure its long-term safety and durability. This involves regular inspections, cleaning, and repairs as needed.
- Regular Inspections: Conduct regular inspections of the guardrail to check for any signs of damage or weakness. Inspect the columns, brackets, connectors, and guardrail for any cracks, bends, corrosion, or other signs of wear and tear.
- Cleaning: Clean the guardrail regularly to remove any dirt, debris, or other contaminants. Use a mild detergent and water to clean the guardrail, and rinse it thoroughly with water.
- Repairs: If any damage or weakness is found during the inspection, make the necessary repairs immediately. This may involve replacing a damaged column, bracket, connector, or section of the guardrail.
Conclusion
Installing a guardrail column on a metal structure is a complex process that requires careful planning, the right tools, and a good understanding of the materials involved. By following the steps outlined in this blog post, you can ensure that your guardrail is installed correctly and safely, providing long-term protection and peace of mind.
If you're in the market for high-quality guardrail columns, look no further. As a leading [Guardrail Column Supplier], we offer a wide range of guardrail columns to meet your specific needs and requirements. Our guardrail columns are made from high-quality materials and are designed to provide maximum strength and durability.
For more information about our products and services, or to discuss your specific needs and requirements, please [Contact Us]. We look forward to hearing from you and helping you find the perfect guardrail solution for your project.
References
- "Industrial Shelving Uprights." Industrial Shelving Uprights
- "Metal Window and Door Frames." Metal Window and Door Frames
- "Metal Computer Desk Legs." Metal Computer Desk Legs